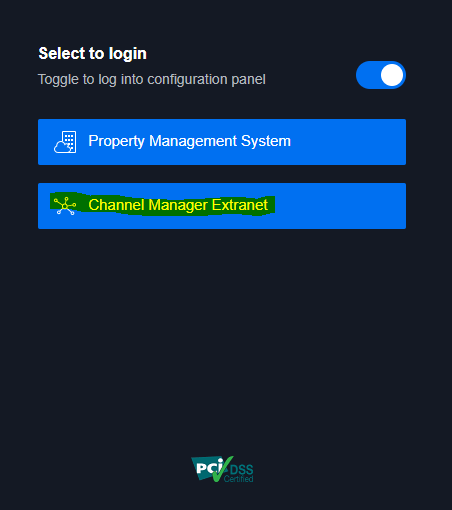
First login to the Boost Reservations page by entering your login credentials, and by clicking on “Channel Manager Extranet” which redirects you to the portal of the Internet Booking Engine. Refer image below

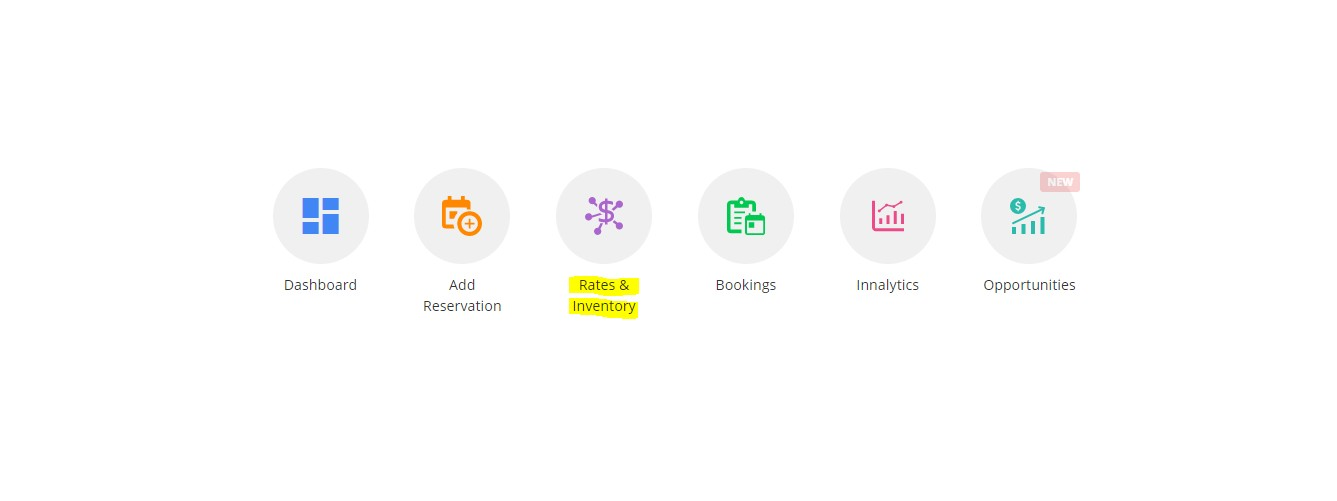
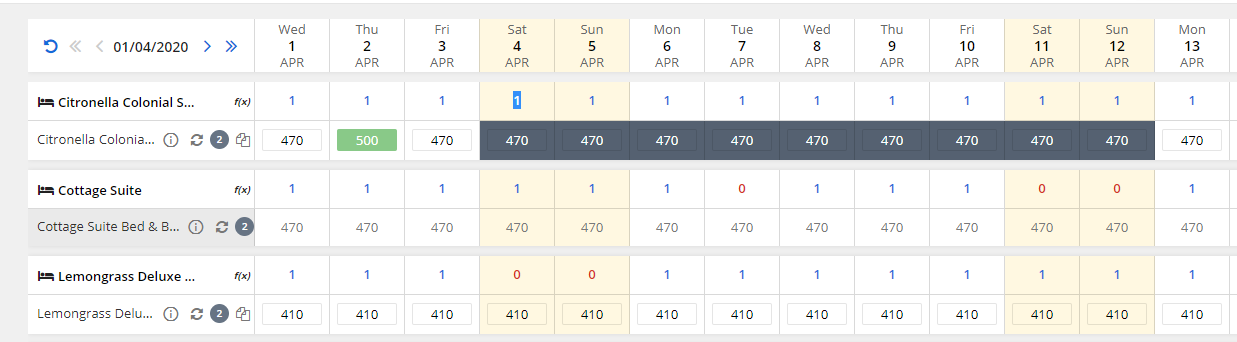
To update the inventory, Click on the “Rates and Inventory option on the dashboard And on the following screen select the source as “Web” and it will show the currently pushed inventory to your internet Booking Engine. Refer images below
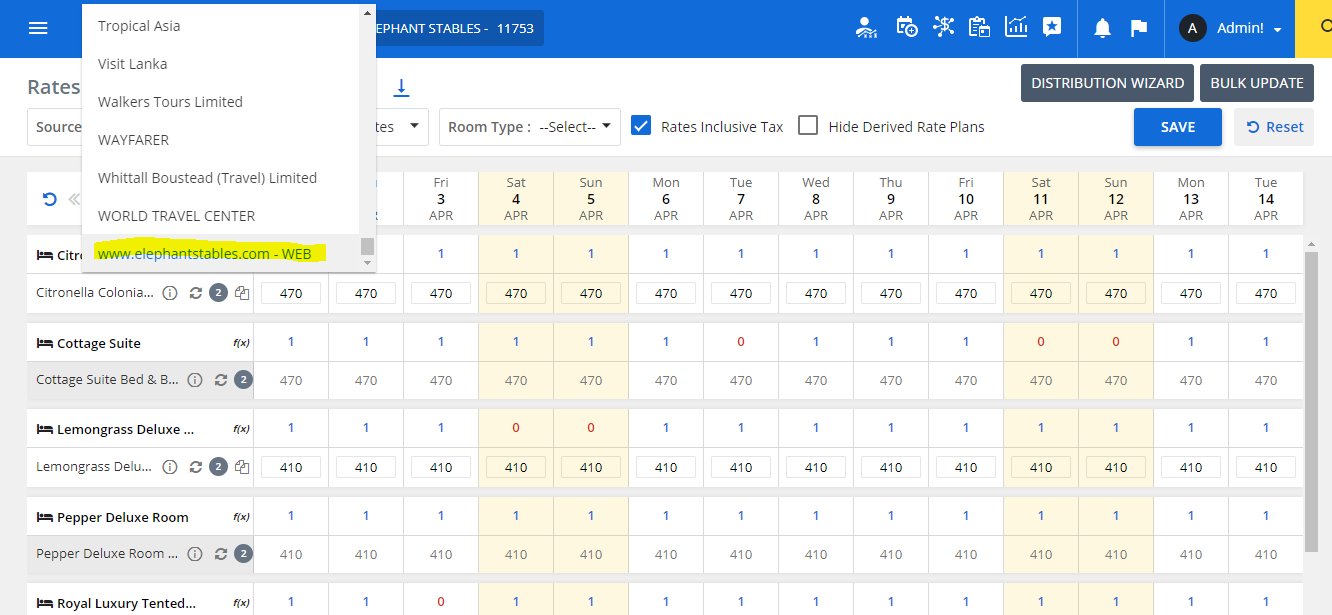
Then simply click on the number of rooms selected for the desired day you want to update room inventory for, and change it by typing in the new desired number.
Once you are done click on the “Save” button so the changes will be pushed to your internet Booking Engine.
As mentioned before. The login procedure should be continued as the same, and once you get redirected to the dashboard, you should click on option “Rates and Inventory”.
Select the source as “WEB” and click on option “Rates”
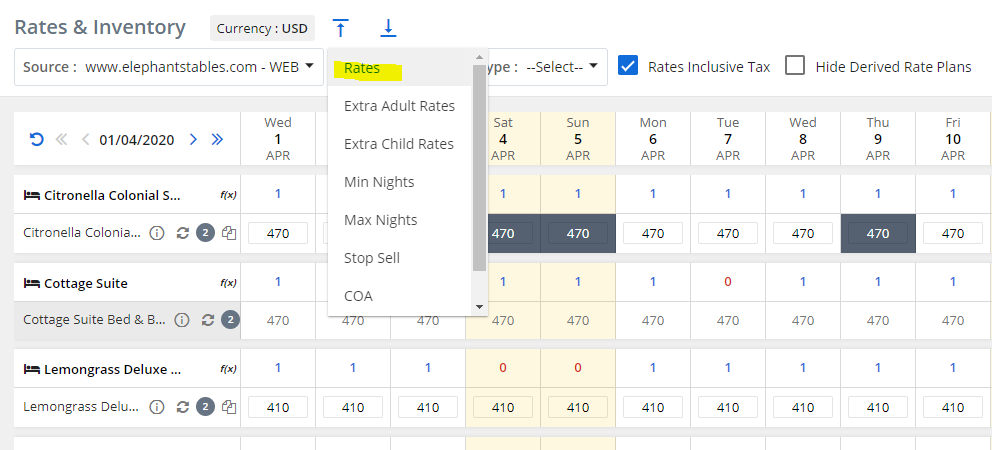
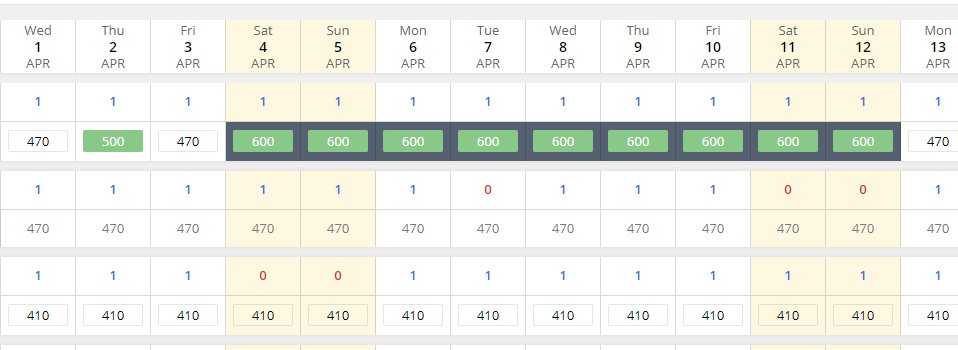
Then you can simply click on the Rate available for the desired day you want to make the change to and type in the new rate you want to add.
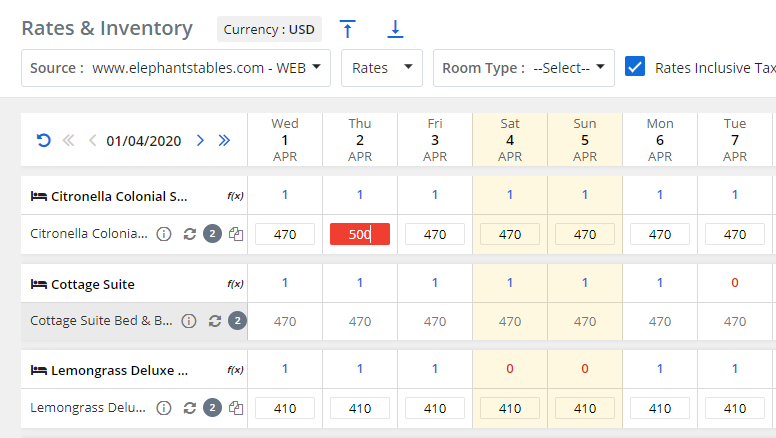
Then click on the save button to update made changes on your internet Booking Engine
You can also move your cursor on multiple dates to change rates for a multiple days.
The type in the new rate you desire to update and click on “Save”.
Login to the extranet as shown on previous pages and click on “Rates and Inventory” option. Select the source as “WEB” and select option “Stop Sell” on the drop down
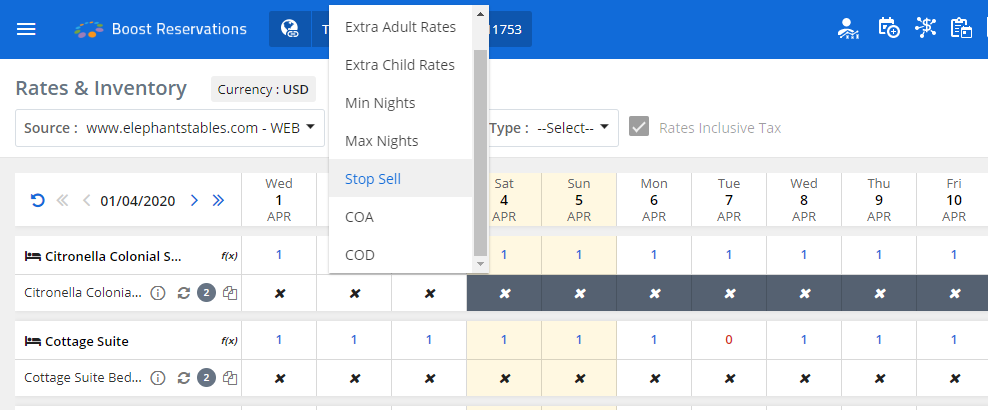
Once you select the option “Stop Sell” you will see crosses on the dates of your calendar and you will crosses on days you have not applied stop sell on.
Click on the cross on selected day/days you want to update stop sell on so it turns to a green tick.
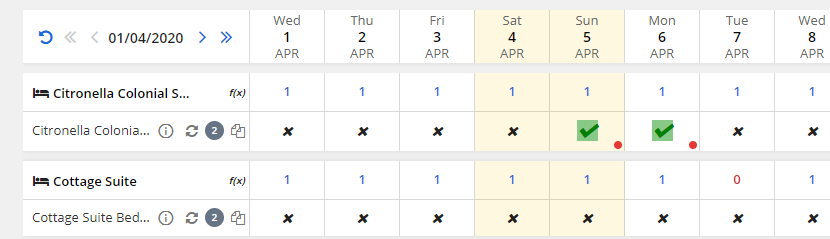
Click on “Save” button to update applied changes on Internet Booking Engine
You can also move your cursor to drag an select multiple dates to apply stop sell option

Once you are done, click on the “Save” button to update applied changes on the Internet Booking Engine
NOTE
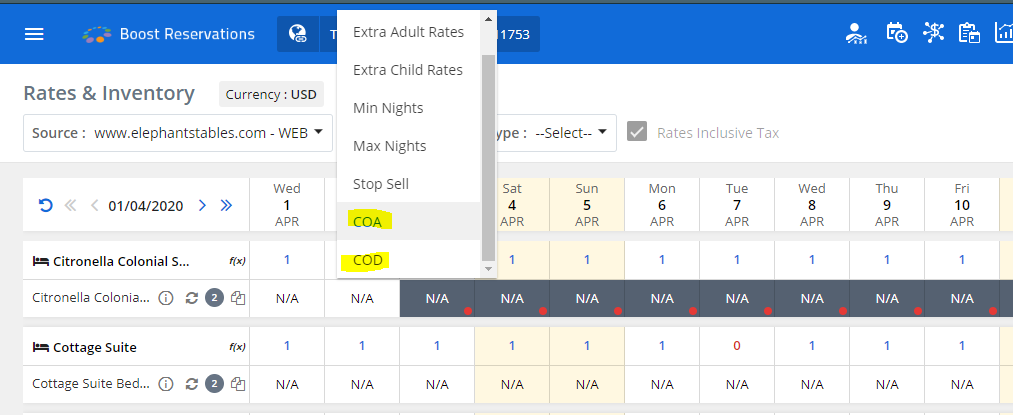
You can update changes such as Close on Arrival (COA) and Close on Departure similar to the way of applying stop sell.
On the first step, select “COA” or “COD” instead of “Stop Sell”.
Promotion is a special offer which will be made available to your privileged guests And this promotion will be unlocked by a promotional code when entered on the Booking Engine.
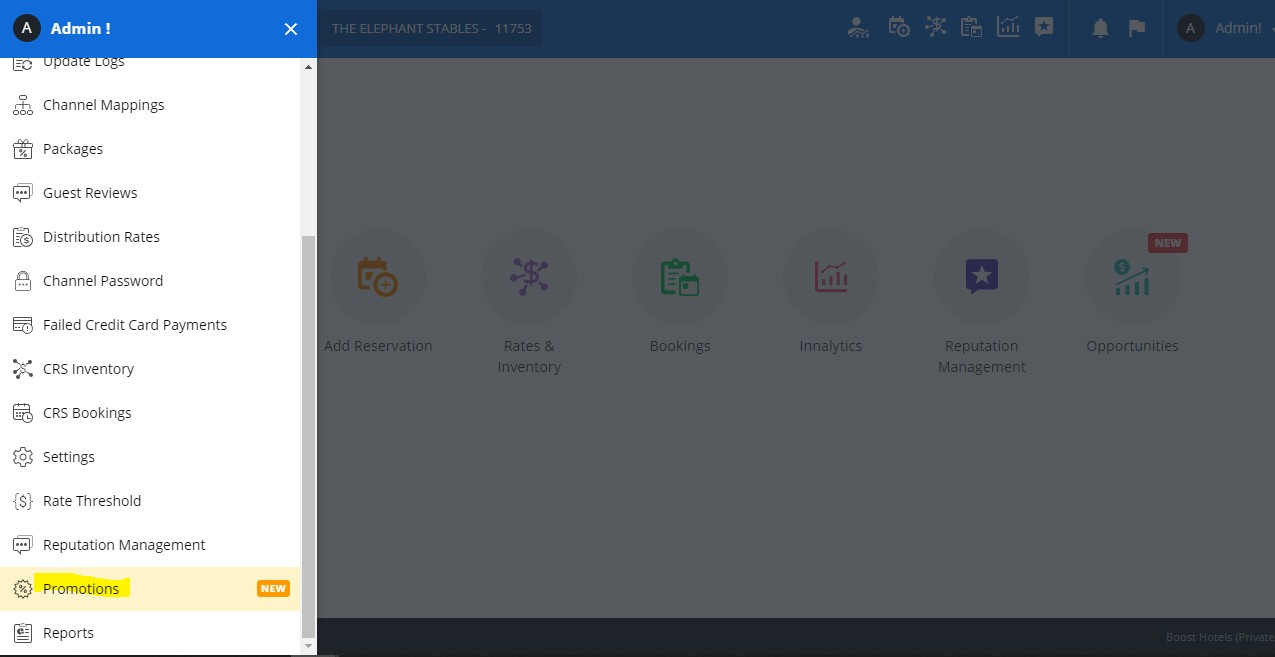
To create a promotion, Click on the side menu and select “Promotions”
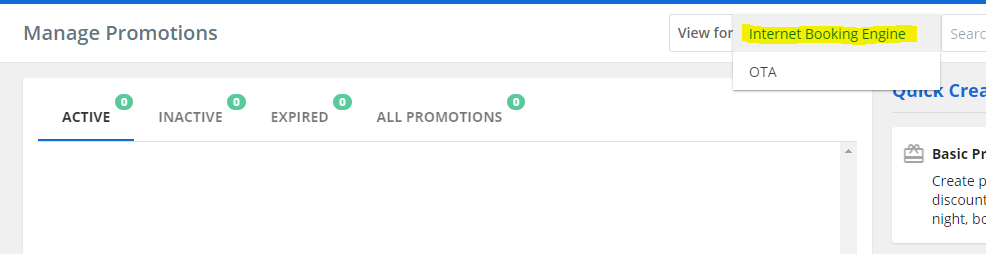
Then select the option “Internet Booking Engine” on the “View for” drop down list to start with.
Once you select this option, you will see a list of Promotion types which you can offer to your guests.
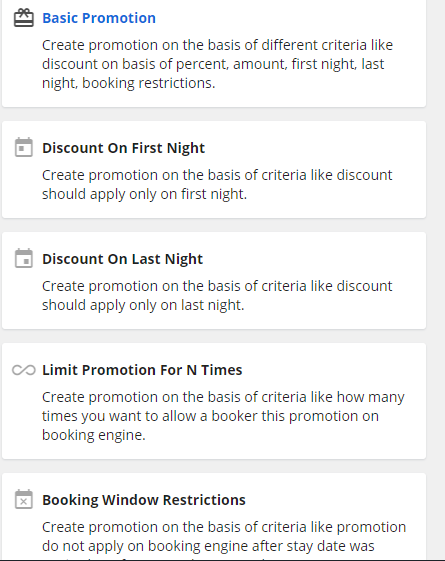
You can click on any of the desired promotion options to start off with
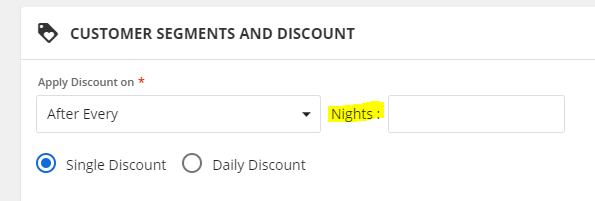
Then initiate the process by giving a “Promotion name”, “Short Code”, a description, Select the promotion type and the Promotion code with which you want your guests to unlock the promotion.
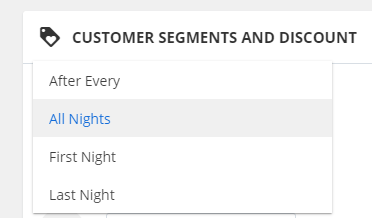
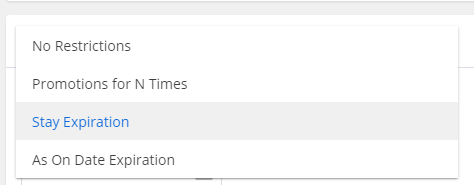
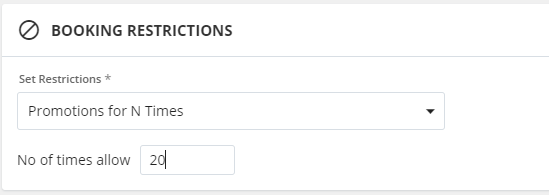
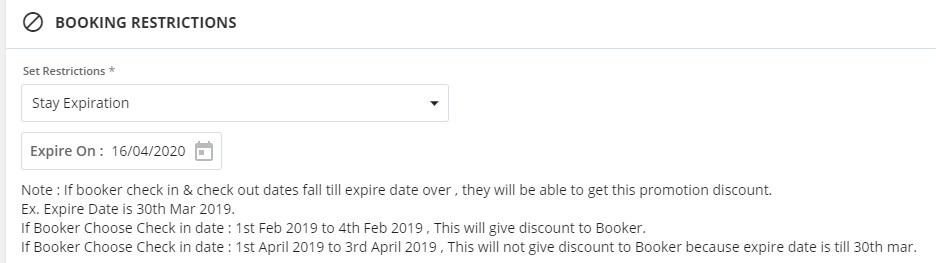
Once you select the Promotion Type, you have to select the Night rule. Here we have 4 options.

Do you wish to offer different packages to your guests? Boost Reservations will help you create and manage different packages
Once you log into the system, click on the side menu and select “Packages” option.
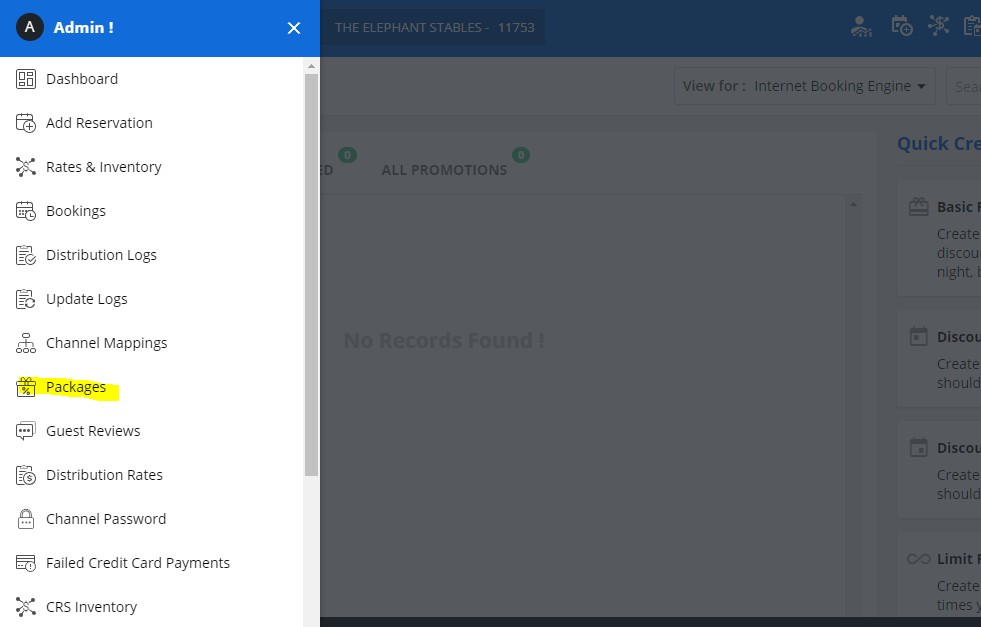
Once you select the option you will see a list of quick create packages for your ease of use
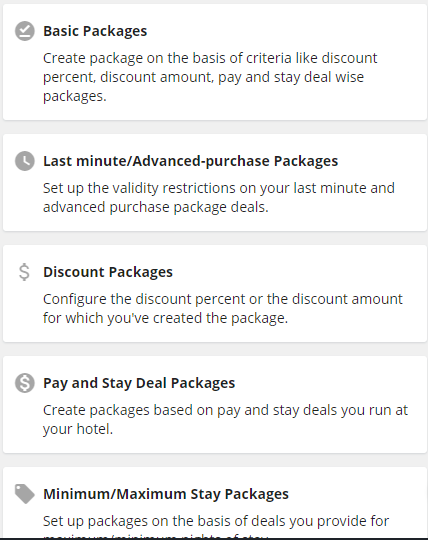
You can select one of these to start creating a package.
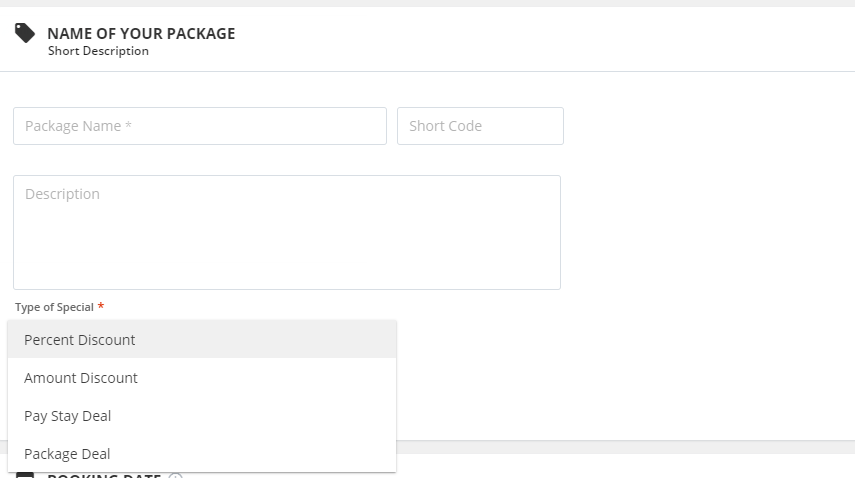
First you have to fill in a package name, A short code, a description and select the type of special
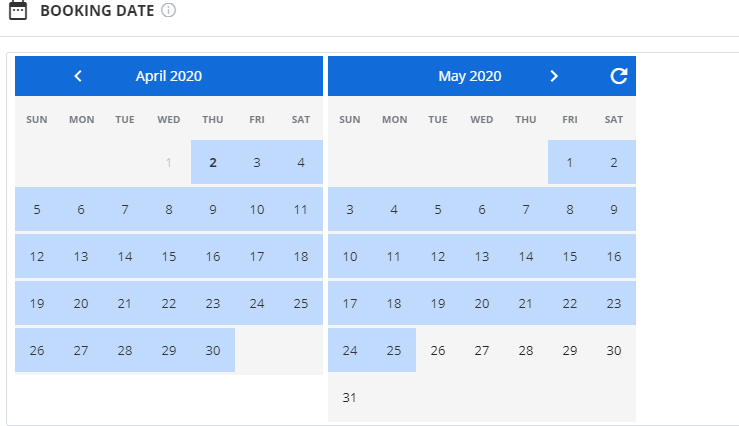
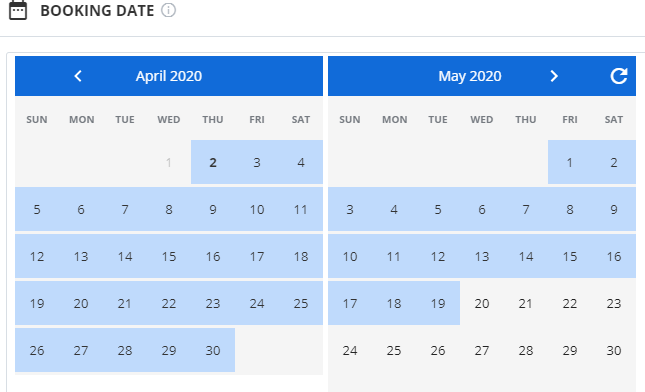
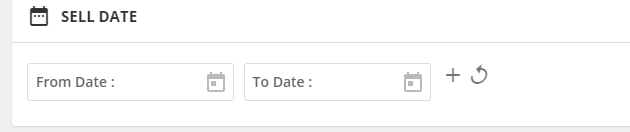
You can then select the “Booking date” and the “Sell date” which means the dates the package will be available for Bookings and the days you are planning to make it available for your guests to make the reservation respectively.
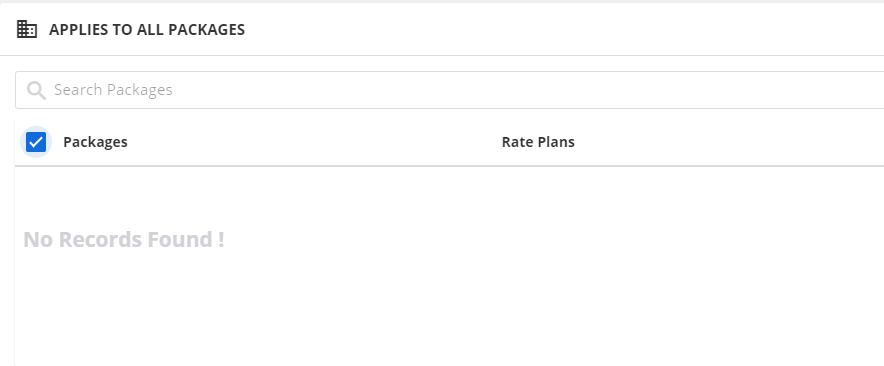
You can then select the Rate plans on which this package will be applied.
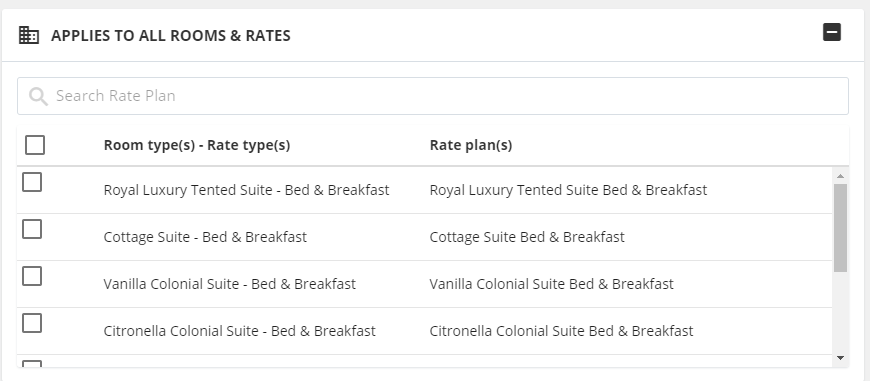
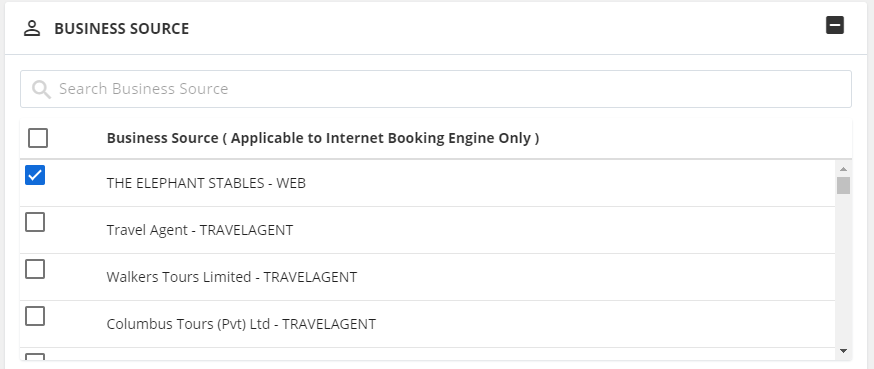
Once you select the rate plans on which the package will be applied, select the business source as “WEB”.
You can also add additional restrictions such as hiding associated rate plans when this package is available.
If you want this package to be selected only by selected people you can select option mentioned below.

If you are using Yield Management, you can allow the yield to be applied on this package by selecting option shown in the image below.

You also the have the option to manage this package as a pre-paid, Non-refundable and Non-Cancel package by selecting the option shown in the image below.

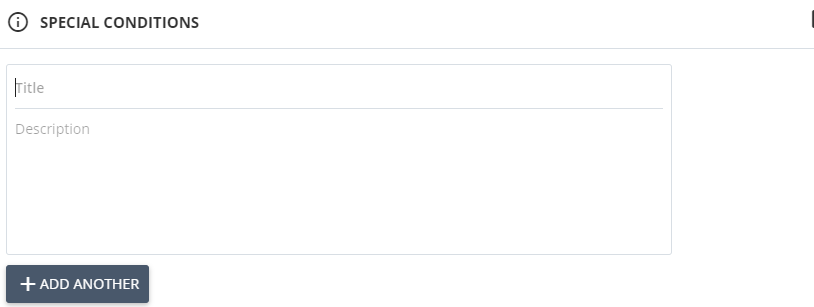
Then you have the options to add in any additional Special conditions you have. You can give them each a title and a short description which will be shown in the Internet Booking Engine.
You can add any numbers of special conditions as you want.
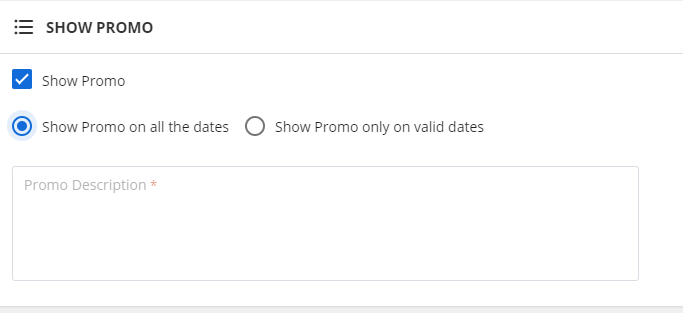
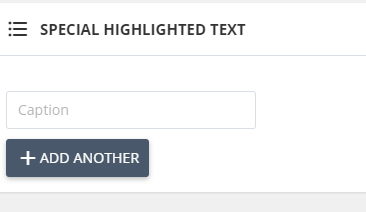
Finally you have the option to add on some highlighted text to grab the client’s attention to the package
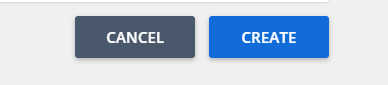
Once you are done adding details, Click on “Create” button to update made changes on the Internet Booking Engine.
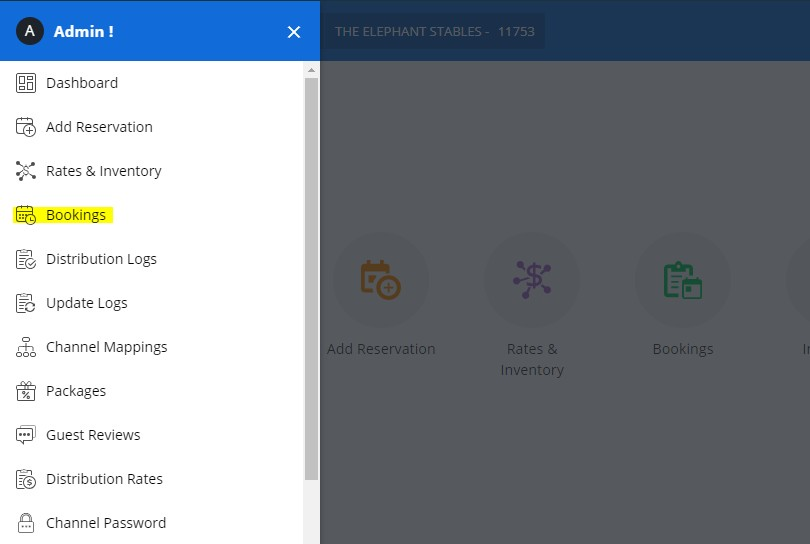
Do you want to see all your reservations on 1 page? Here’s the option, the Booking List. Once you log into the system, click on the side menu and select “Bookings” option.
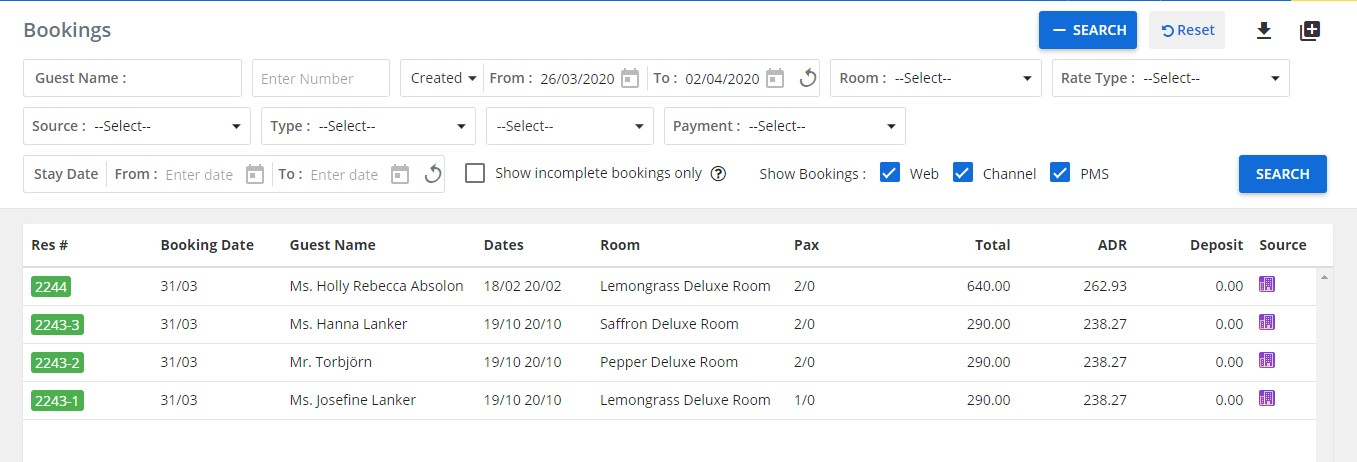
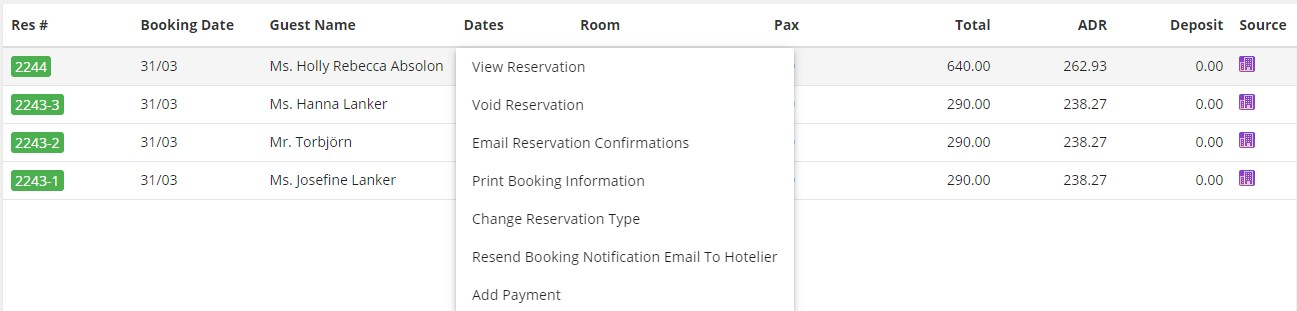
In booking list a user can view the bookings they have received from the Internet Booking Engine and other resources.
The bookings can be filtered on the basis of

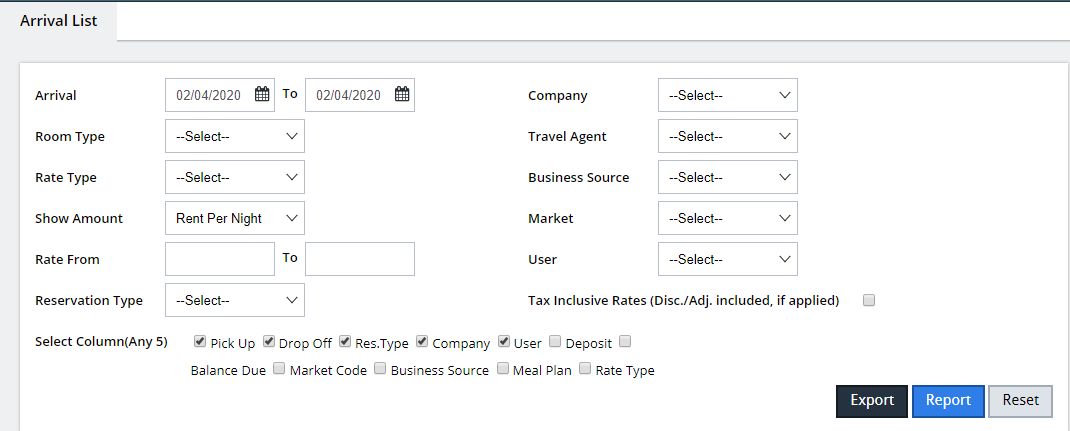
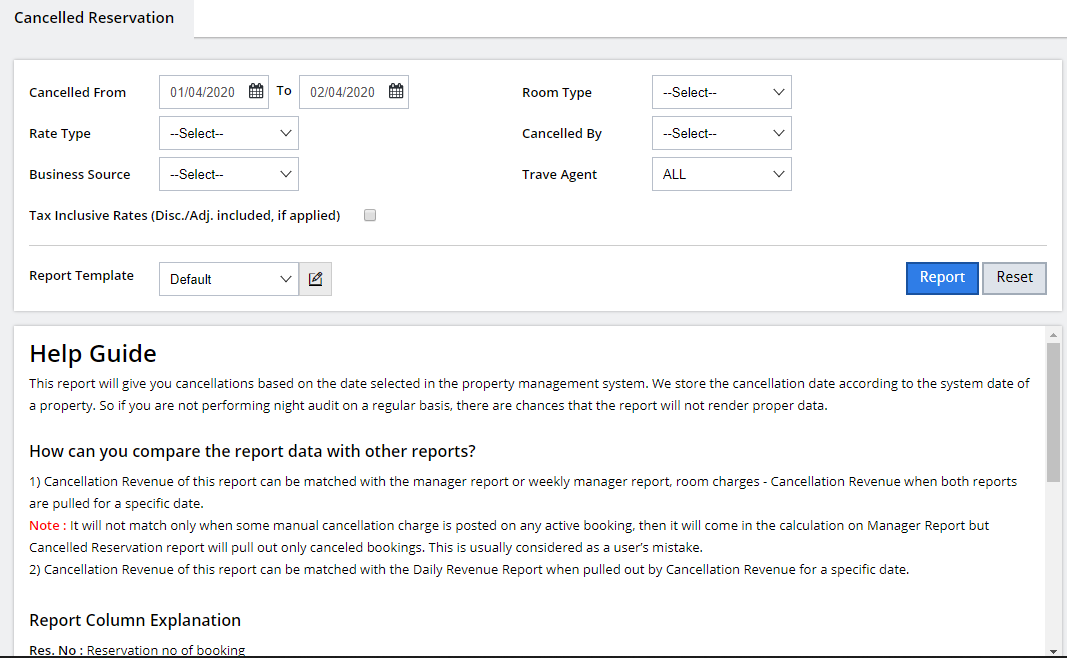
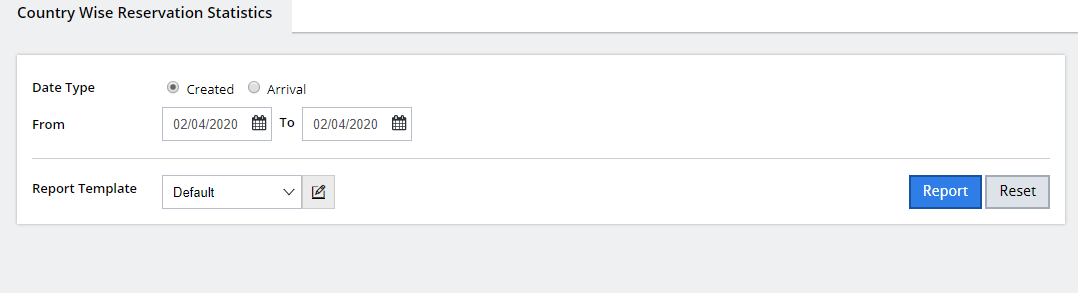
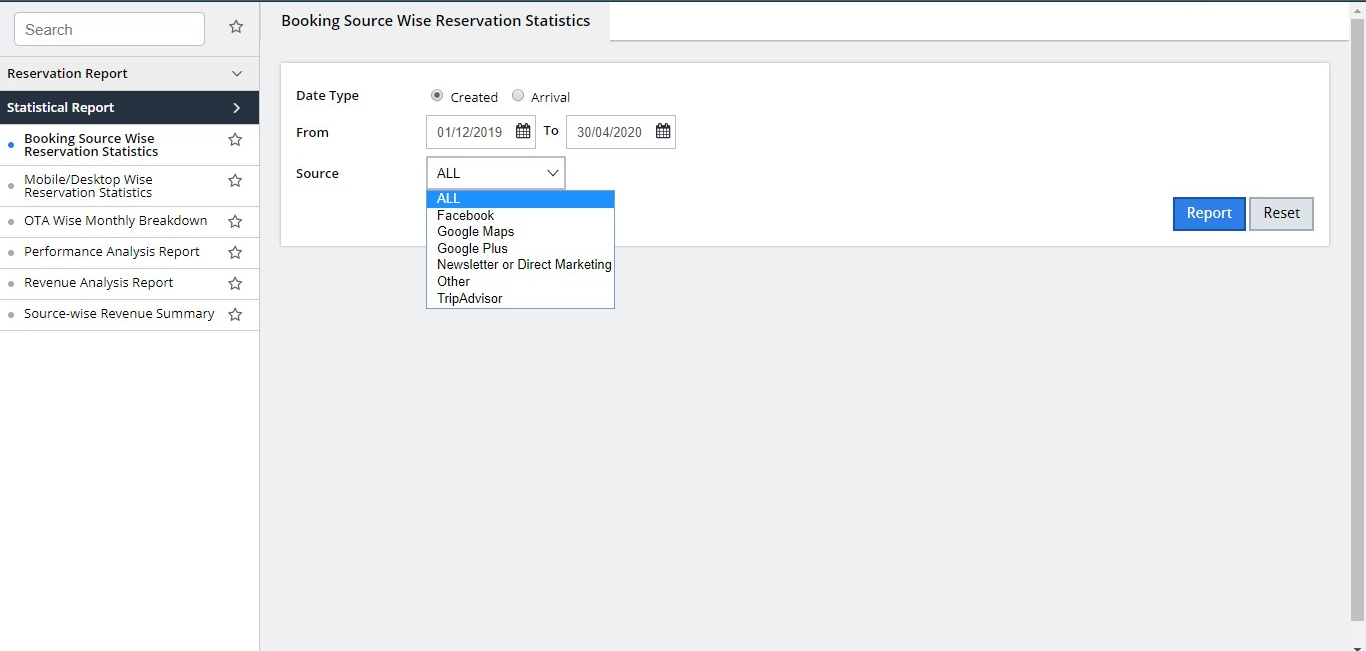
Reports play a vital role engaging the performance of your hotel.
Once you log into the system, click on the side menu and select “Reports” option.
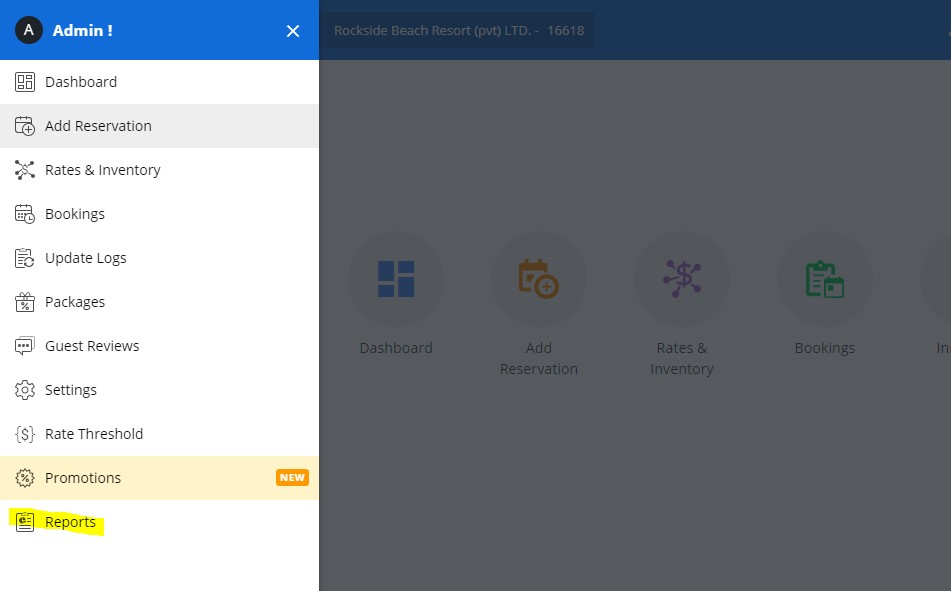
The available reports in Boos Reservations are,